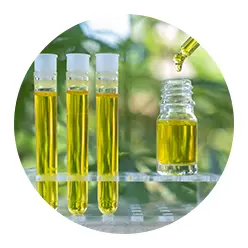
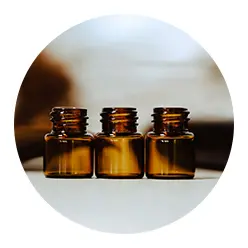
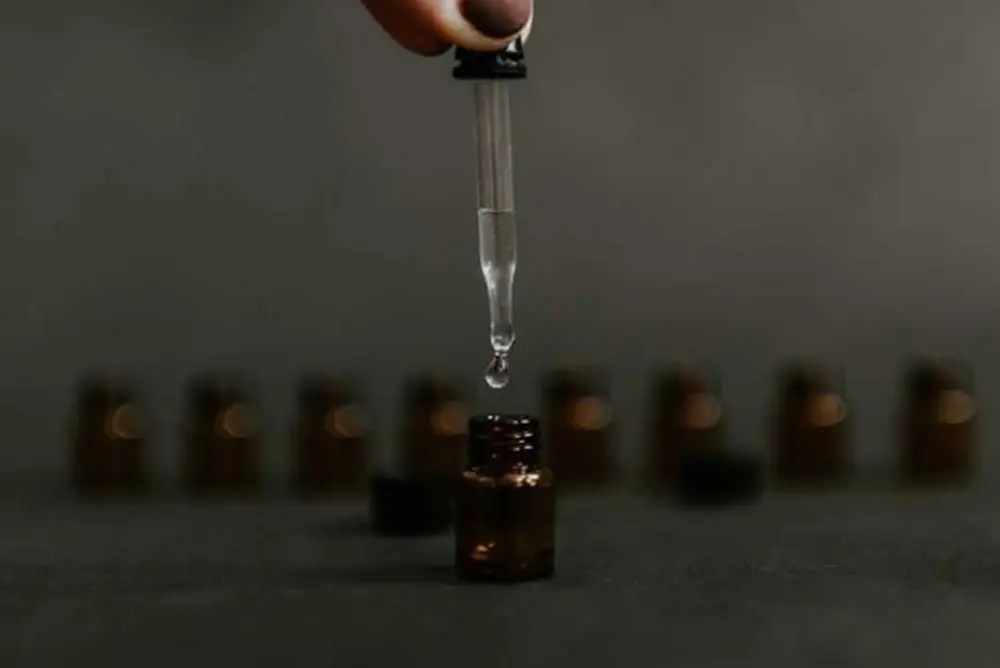
The beauty of essential oil dropper bottles is that they don’t have to be used as mere vessels for your essential oils. In reality, there are hundreds of different uses for them once the oils inside are depleted! So don’t throw your glass dropper bottles away—instead, you can clean and prepare your dropper bottles for all your upcycling endeavors!
Remove the Label
After eliminating every last drop of essential oil from your dropper bottle, it is time to remove the label to prepare the dropper bottle for cleaning. If you are struggling to remove the label and its residue, an easy hack is to soak the bottle for 5-10 minutes or longer in a bowl of warm water mixed with a few drops of dish soap before peeling away the label. If any stubborn residue is left over, apply some oil and scrub with a sponge, brush, or even just with your fingers.
Disassemble and Soak Bottle, Dropper, and Cap
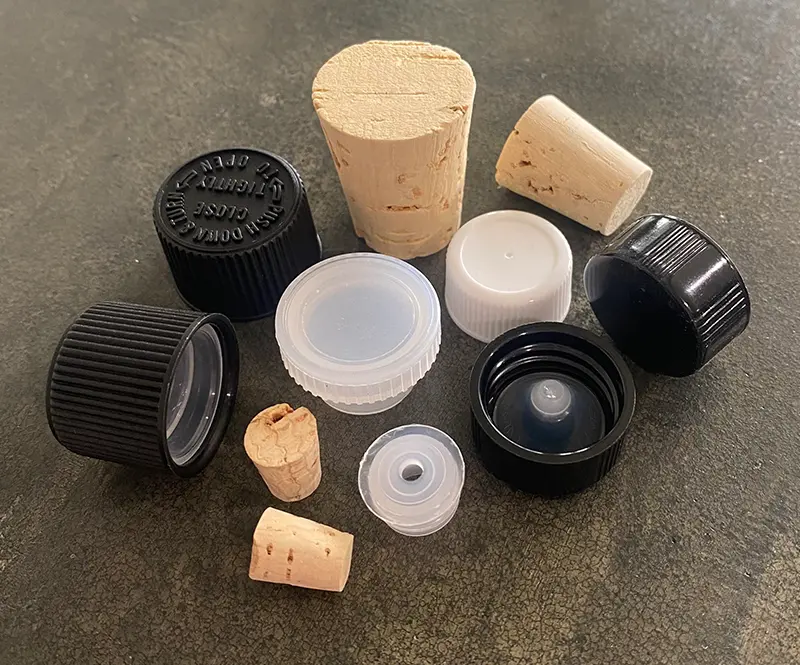
Once the label and its residue have been completely removed, you can get started on disassembling the glass dropper bottle. Separate the cap and dropper from the dropper bottle using a bottle opener designed specifically for essential oil droppers if necessary. If you don’t have a bottle opener, use rubber gloves or a towel for extra grip. Some essential oil locations will even allow you to return the bottle to them for free so that they can open it for you.
Remove Excess Glue
If you are still struggling to remove label glue after soaking, scrubbing, and disassembling, don’t fret! There are plenty more tips and tricks to getting your bottles to look pristine and residue-free. While you can continue trying to soak and rub, a better way of handling stubborn glue is to scrub at it with a mixture of baking soda, coconut oil, and your favorite de-greasing essential oil. Mix two parts of baking soda for every one part of coconut oil together until it forms a paste-like consistency. Then, stir in a couple of drops of your favorite de-greasing essential oil, like sweet orange or lemon.
Rinse and Scrub Components Thoroughly
After every little bit of residue has been removed and your glass dropper bottle has been disassembled, then you are ready to give your components a final, good cleaning. Clean your dropper components by letting them soak for 10-15 minutes in a large bowl filled with warm, soapy water. Use a cotton swab to scrub any hard-to-reach areas. If you are still struggling to remove the previous smell of the dropper bottle, try soaking your components in a bit of vinegar before giving them a second wash.
Dry Bottle, Cap, and Dropper
The final step to cleaning your glass dropper bottles is to allow all the components – bottle, cap, and dropper – to completely dry. If the dropper bottles are even a bit moist, it may decrease their usability or even trigger mold growth. Wipe each component with a towel, and then allow your glass dropper bottles to air dry for several days before upcycling them. Check every crevice for moisture before reusing.
Reuse as Desired
Finally, you are ready to reuse your glass dropper bottles! If you are having trouble thinking up ways to reuse your dropper bottles, there are plenty of creative ideas out there. Dropper bottles aren’t limited to storing essential oils! They can also be used for crafts with your kids, decor for the home, or even Christmas lights for your tree! The upcycling opportunities are endless.
If you have learned anything from this article, it should be that there is no reason to throw away your empty essential oil dropper bottles. Glass dropper bottles can be easily cleaned and prepped for any upcycling project. In case you are wondering how to upcycle your essential oil dropper bottles, a couple of searches on the internet will offer you loads of ideas!

